...
Below we give set up instructions for some of the well-known SMTP relay services, however other providers should also work.
Gmail
...
- Without using OAuth
As an Administrator for your Google accounts, follow Google’s SMTP relay service set-up guide
Navigate to JEMH Cloud > Messaging > Message Outbounds
Create a new connection configuration using the ‘create’ button
Fill in the connection form similar to the below, ensuring that the target host is
smtp-relay.gmail.comand that the account used in theusernameandpasswordfields has been granted access to the relay service through Google (as per step 1):
Gmail - Using OAuth
| Info |
|---|
Gmail now support SMTP Relay when using OAuth |
As an Administrator for your Google accounts, follow Google’s SMTP relay service set-up guide
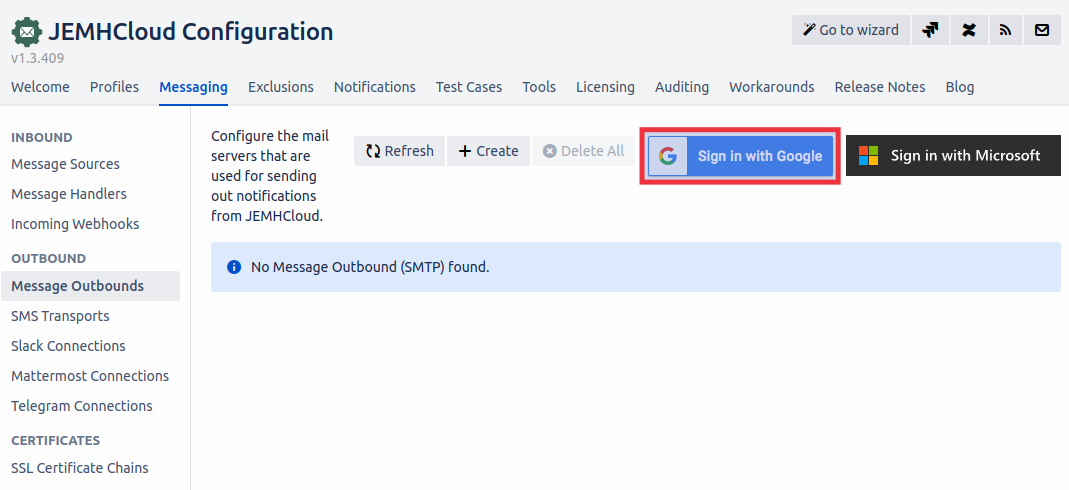
Navigate to JEMH Cloud > Messaging > Message Outbounds
Press Sign in with Gmail - For more info about Signing with OAuth see: Integrating with Gmail using OAuth
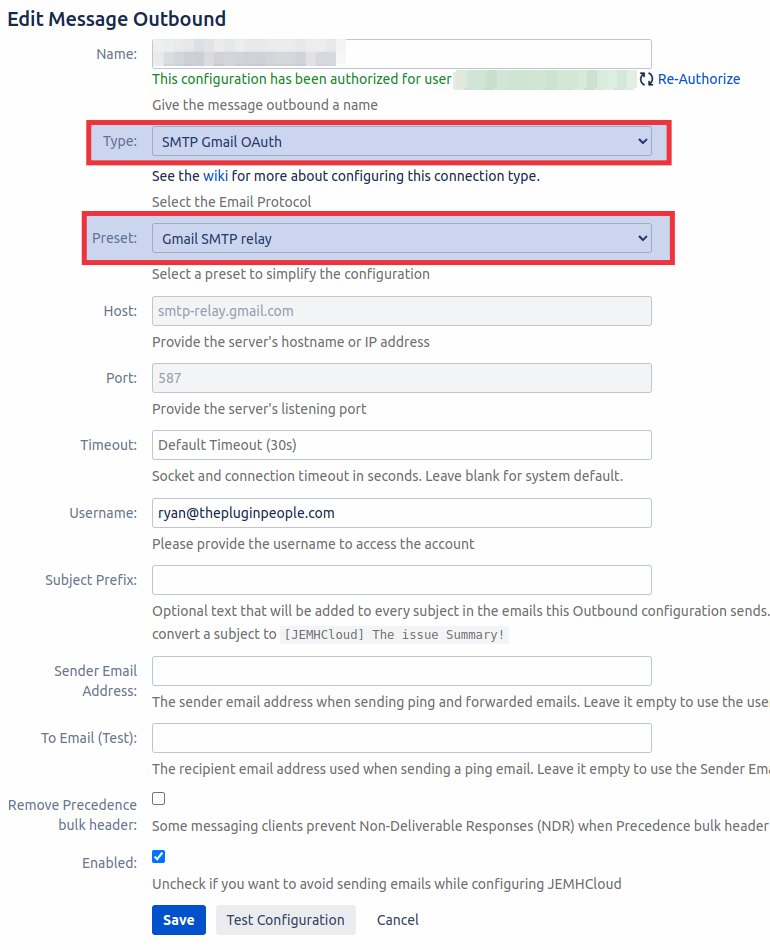
Press Edit (pen icon) on the newly created Outbound Message Source.
Ensure that the Mail Server Type is set to SMTP Gmail OAuth and then change the Preset to Gmail SMTP relay
SendGrid
Follow SendGrid’s set-up guide for SMTP relay integration. This will involve creating an API key.
Enter the provided settings into the JEMHC outbound connection form, setting the
usernameasapikeyandpasswordas the API key given by SendGrid:
Mailjet
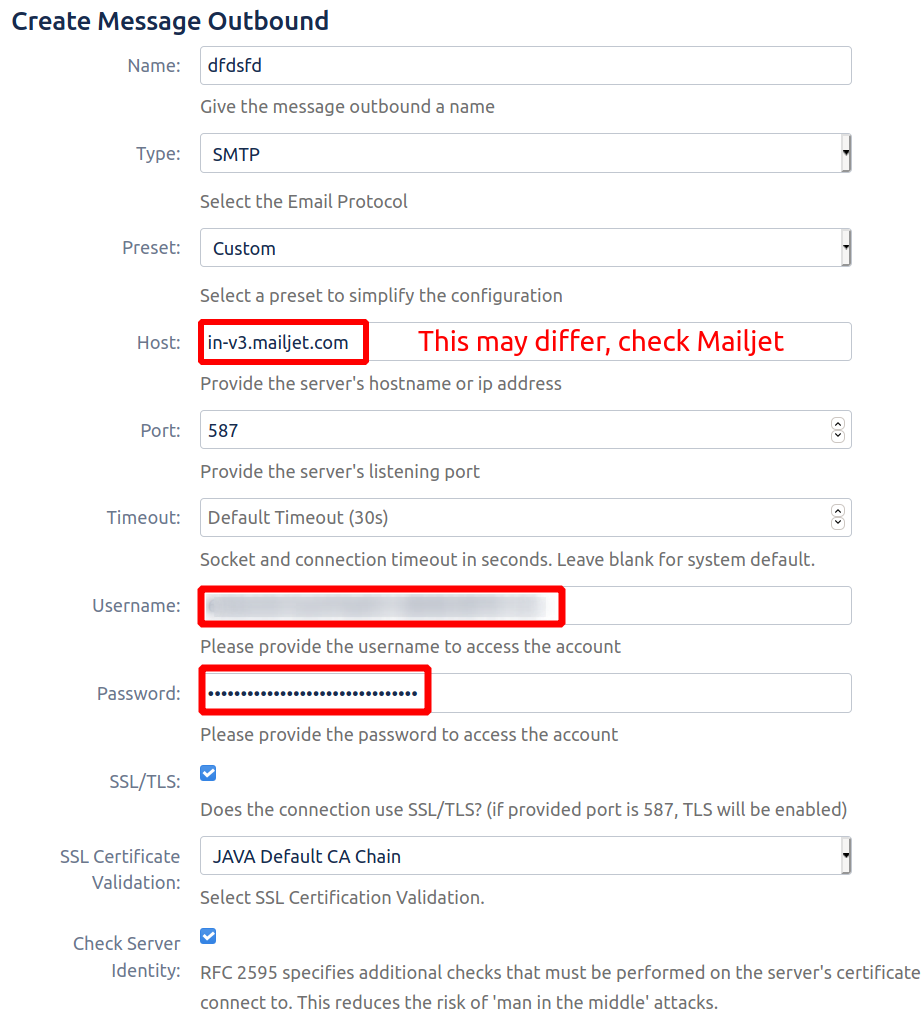
Set up your Mailjet account for use as a SMTP relay as per the instructions given in their set-up guide
Mailjet will then provide you with the settings required in order for JEMHC to connect to it (
username,password,hostandport)Enter the provided settings into the JEMHC outbound connection form, for example:
Related articles
| Filter by label (Content by label) | |||||||||||||||||||||
|---|---|---|---|---|---|---|---|---|---|---|---|---|---|---|---|---|---|---|---|---|---|
|
| Page Properties | ||
|---|---|---|
| ||
|