...
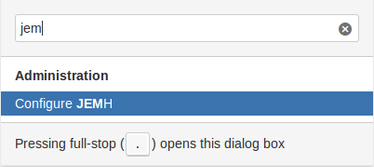
Go to JEMH by pressing full stop on the keyboard to open Jira's Operations box, and typing "jemh" and pressing Enter.
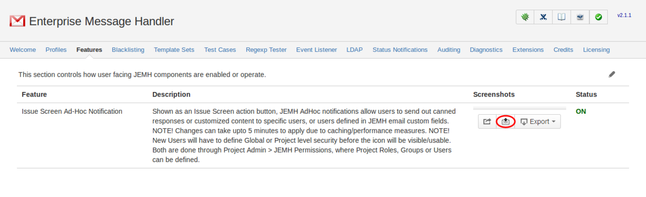
JEMH will appear. Open the Features tab and click the edit icon. Enable the feature and then press submit.
Granting users permission to use Ad Hoc Notifications
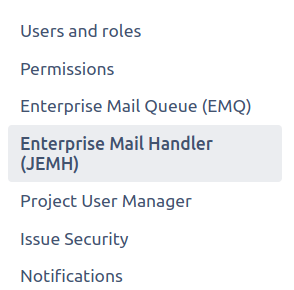
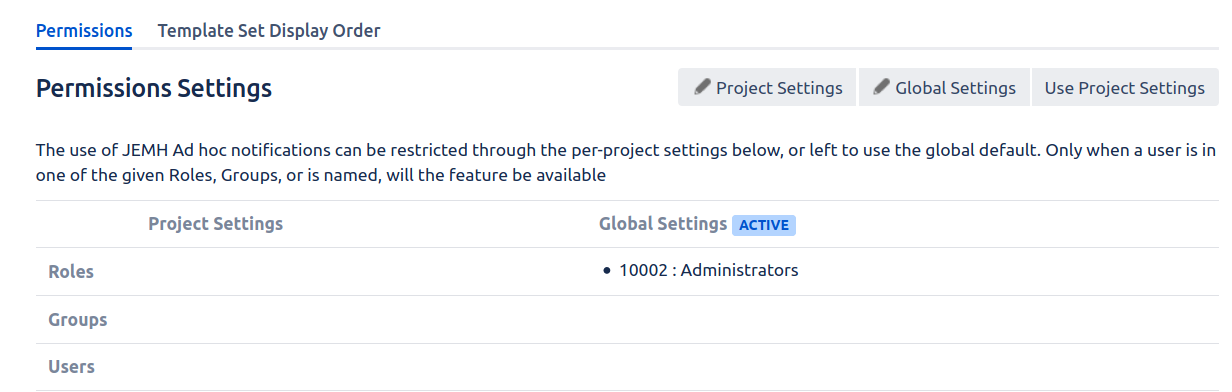
The ability to use Ad Hoc notifications is configurable through default global settings, or can be granted on a per-project basis. The ability to modify Global settings requires a Jira administrator, the ability to modify Project settings requires either a Project Admin or a JIRA administrator. Access to the JEMH Permissions section is found through the JIRA Project Administration section:
...
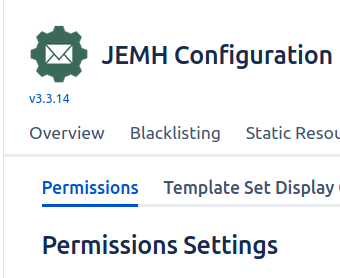
The JEMH Permissions screen has two sections, the Project Settings and the Global Settings. Editing ability is through the pen icon in each case, which is only possible with the Project Administrator privilege (for Project Settings) and JIRA Administrator (for Global Settings). By default, all projects defer to the Global Settings for security. To switch to Project Specific settings, just click the Use Project Settings button.
...
Once the Use Project Settings button has been selected, its activation is indicated:
...

Editing Project Settings
Editing the Project Settings, allows entry of the Roles, Groups and Users. Entry of Groups and Users is by comma separated values. For Users, their login 'names' should be provided (when saving this data, JEMH will store the user keys to be compatible with future user renames). The 'Config Source' is another way to update the Project v Global setting for a project (i.e. to deselect the projects settings).
...