...
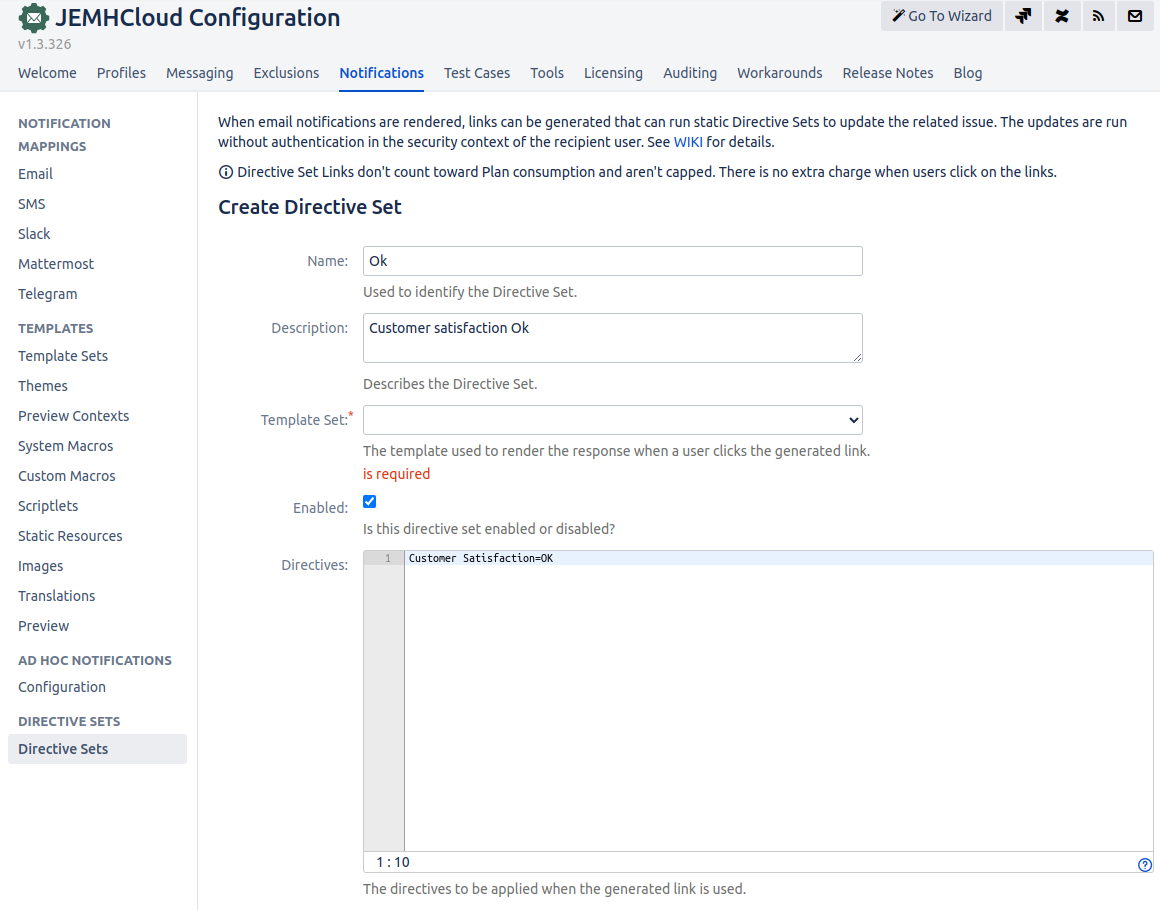
Create the Directive Set in Notifications > Directive Set > Create
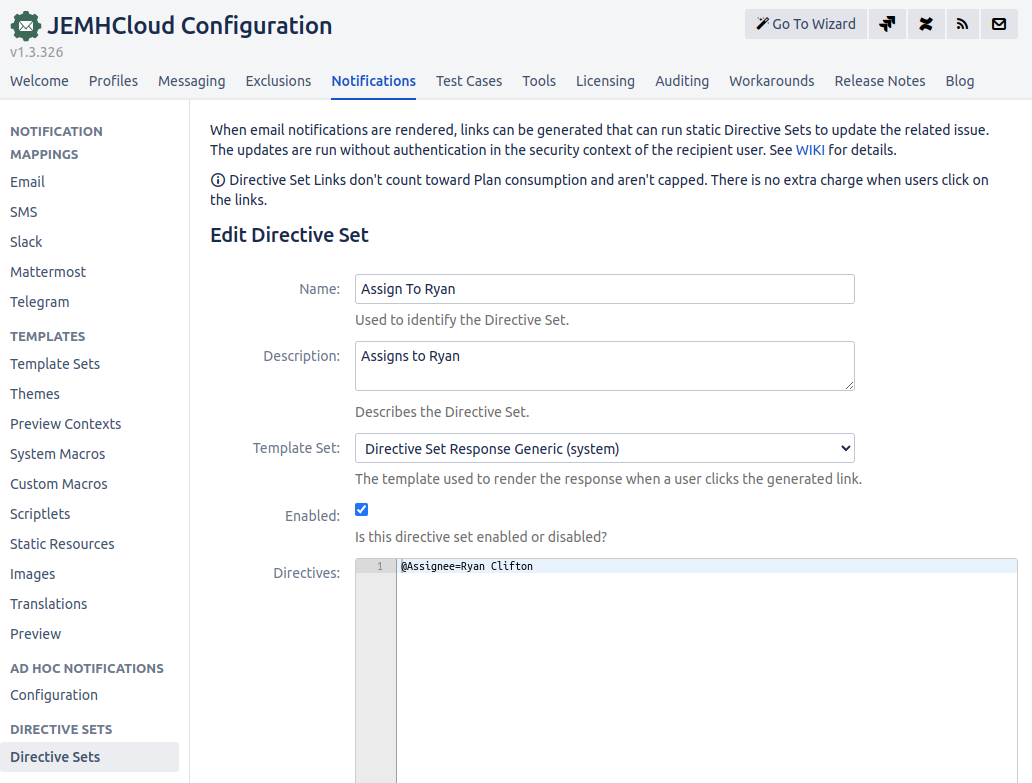
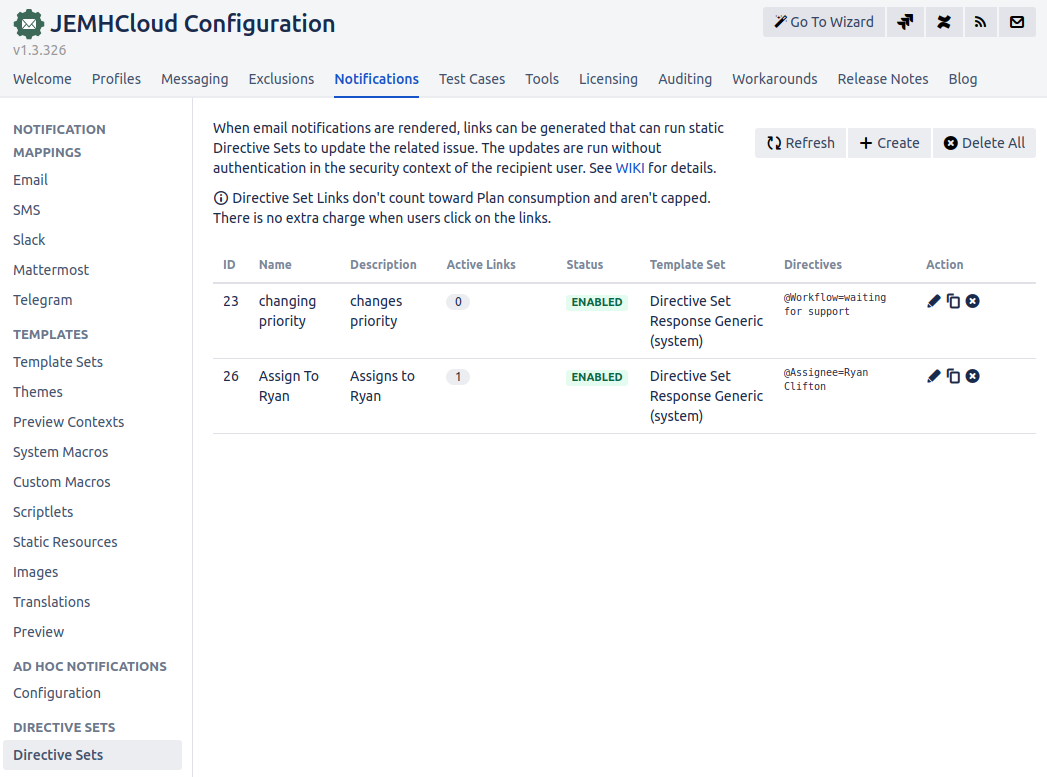
Remember the id of the Directive Set (first column on table)

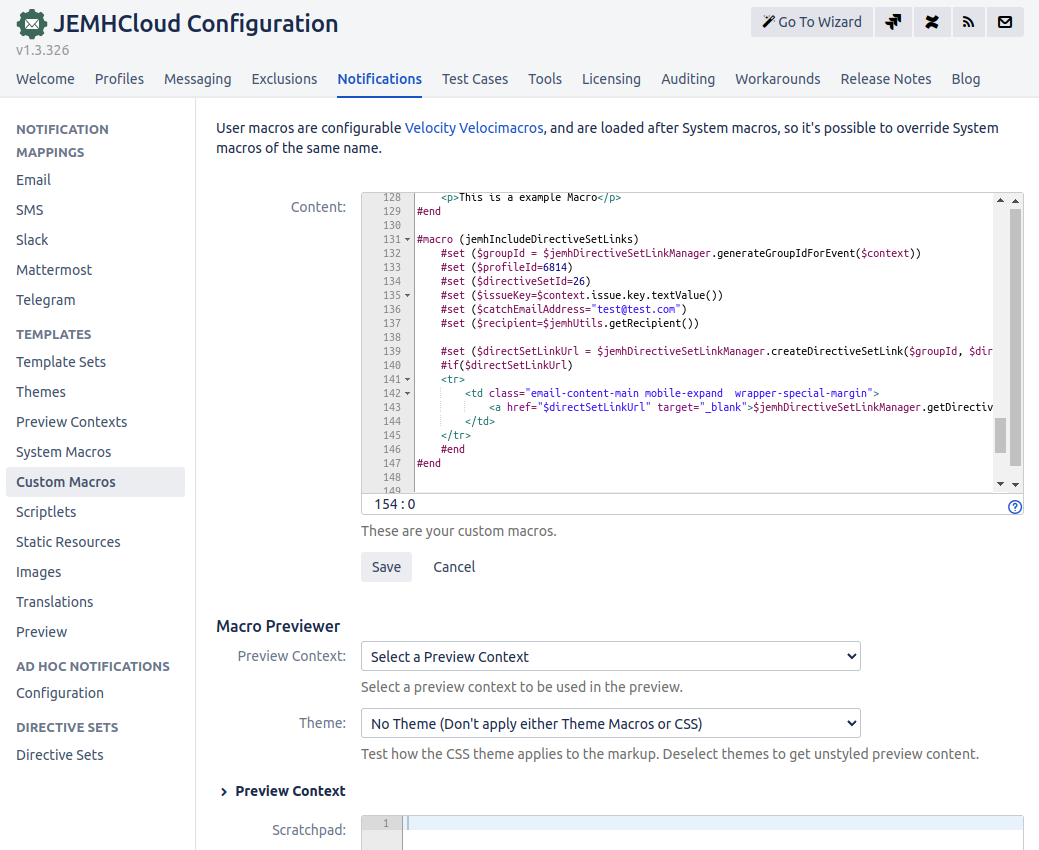
Go to Notifications > Custom Macros and Edit. Add the macro below (replace parameters $directiveSetId, $profileId, $catchEmailAddress) and save.
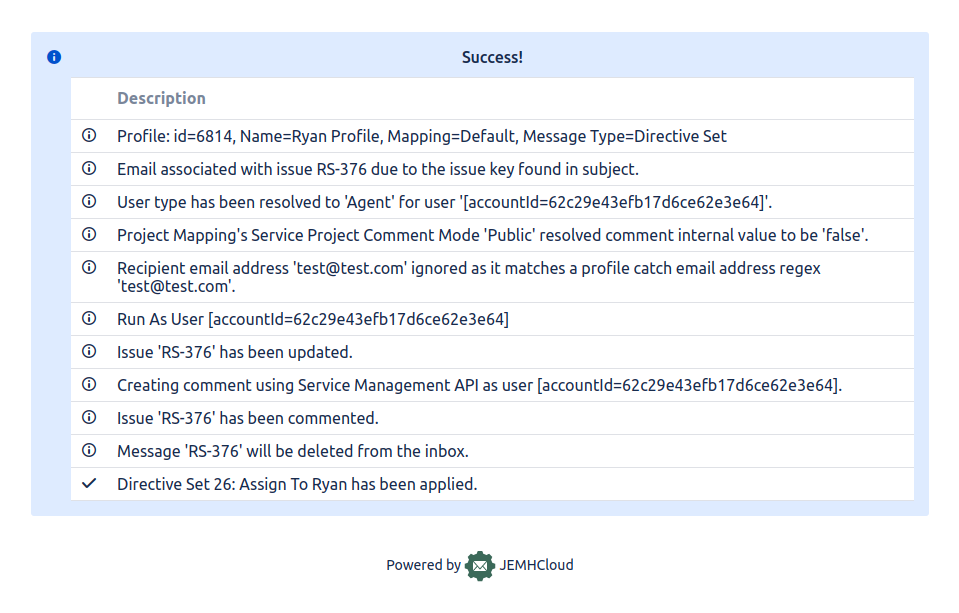
Create an Issue and inspect the generated email. The email should have the Assign to Ryan link
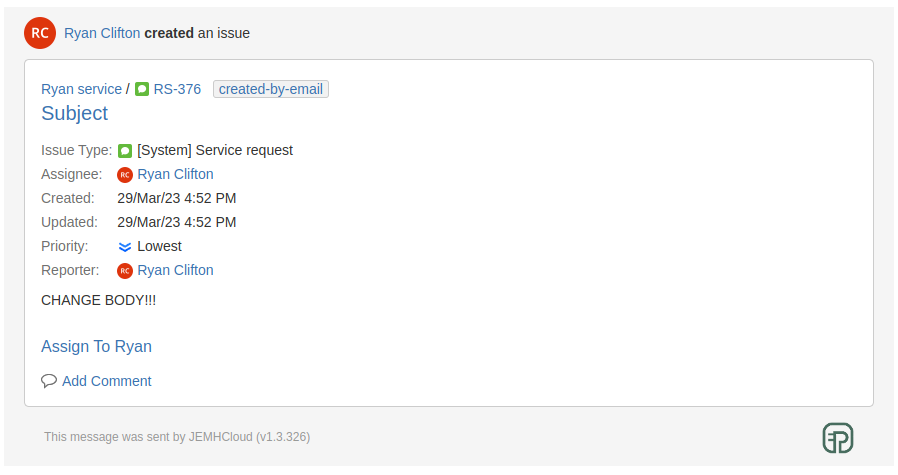
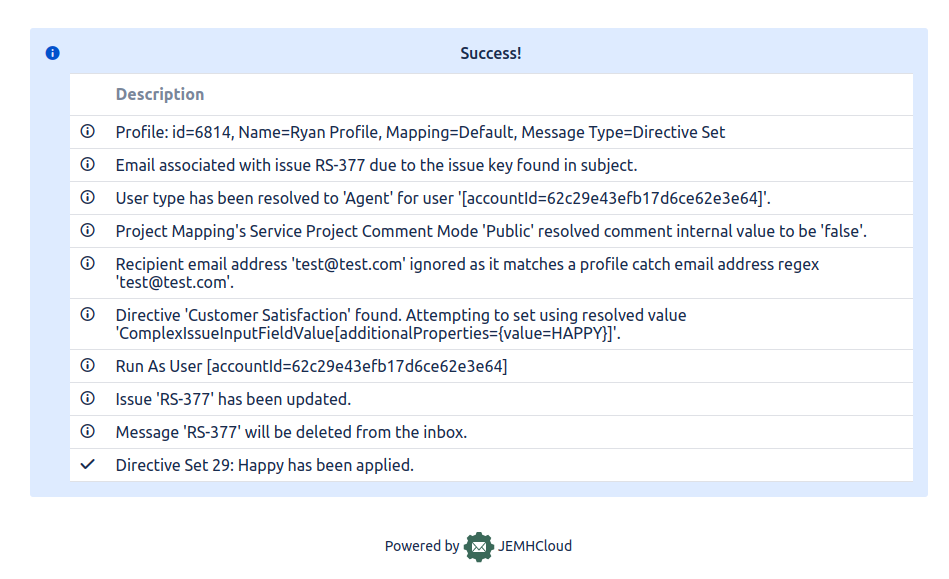
If you click the link, the directive will be executed and the issue's assignee changed. The response is generated based on the Directive Set's template.
...
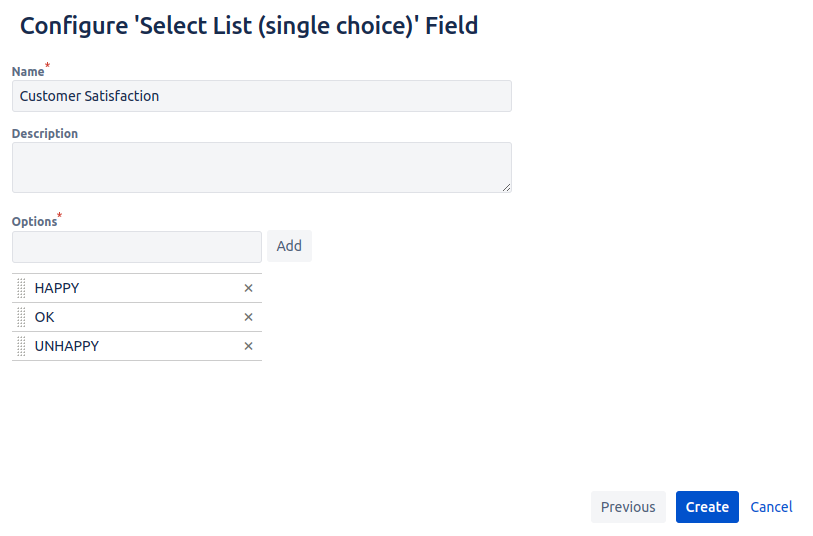
Create Select List (single choice) custom field in Cog > Issue > Custom Fields > Create
Add field to project's screen
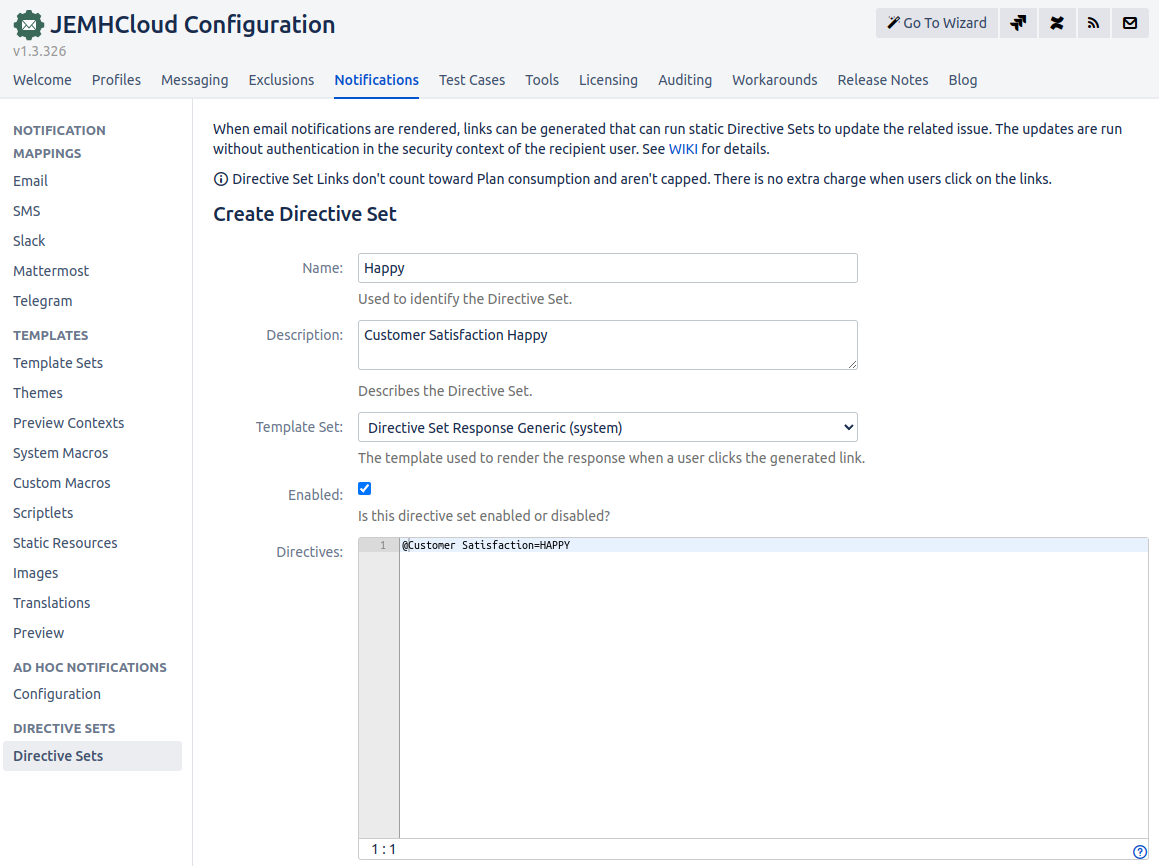
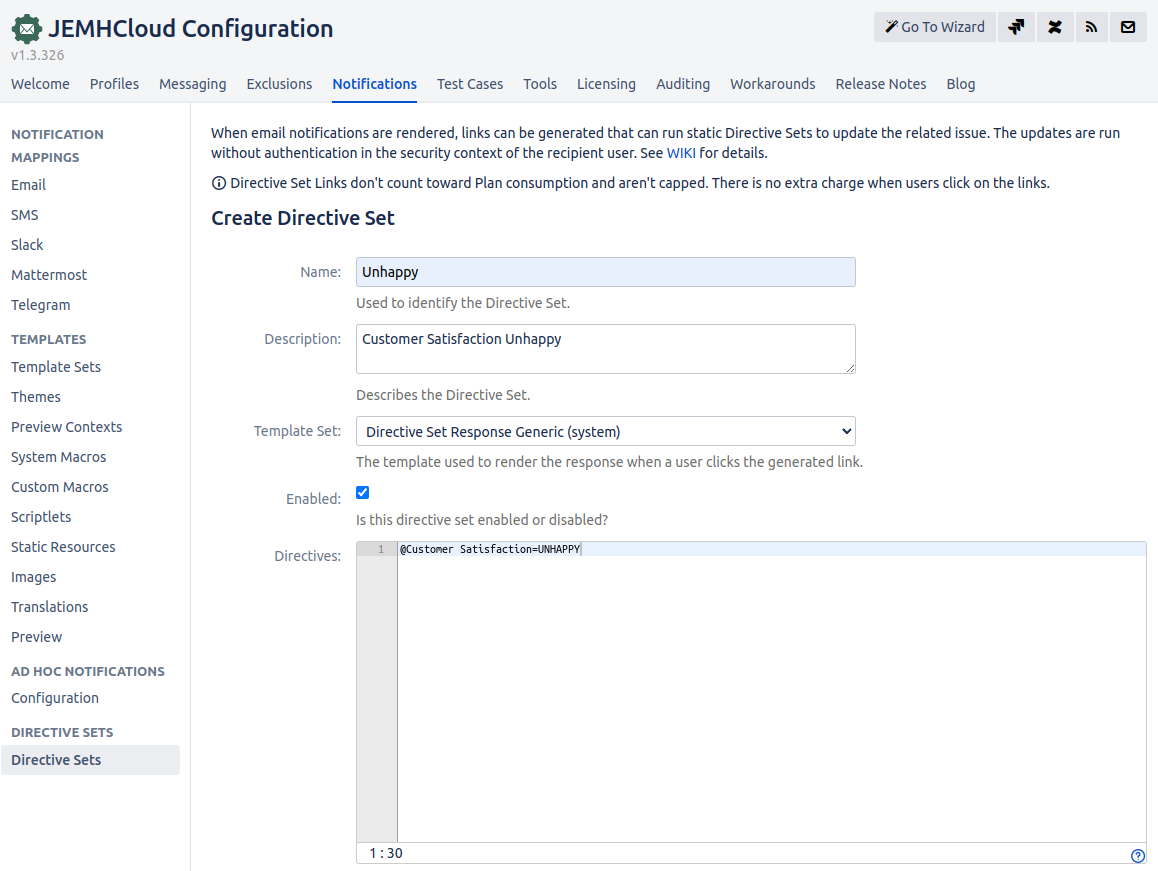
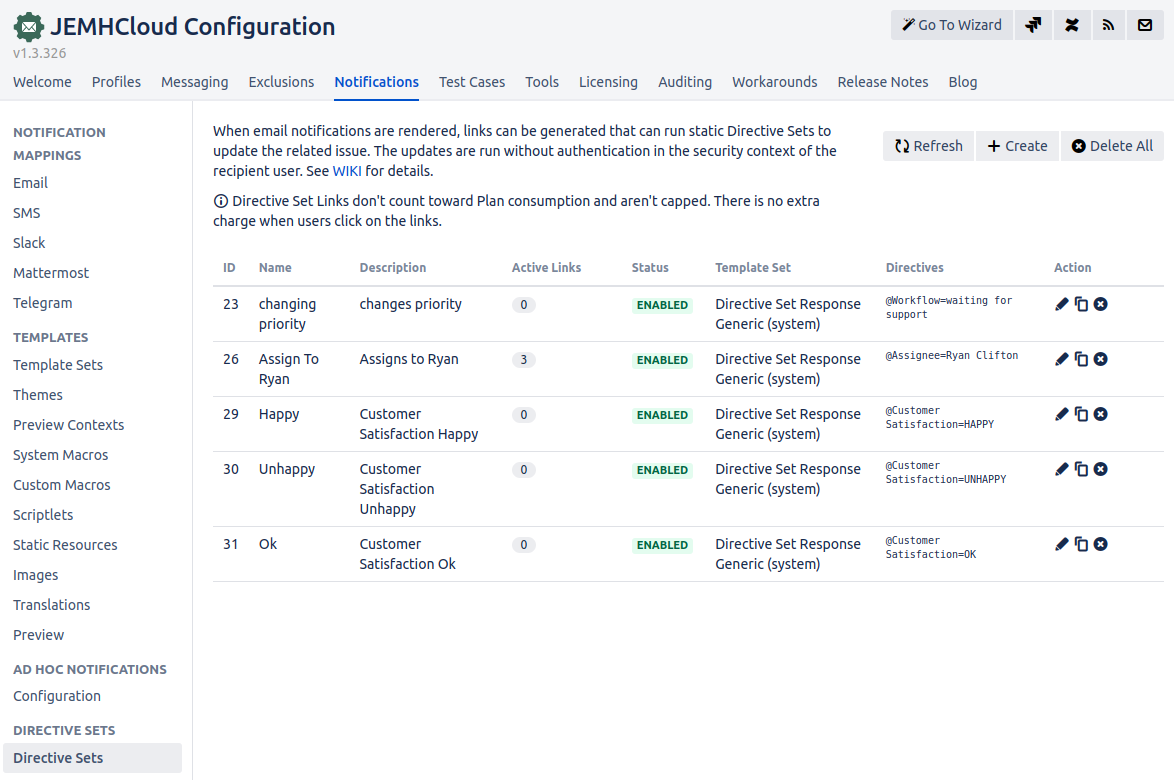
Create 3 Directive Sets in JEMH Cloud >Notifications > Directive Sets
Directive Sets page should looks like this:

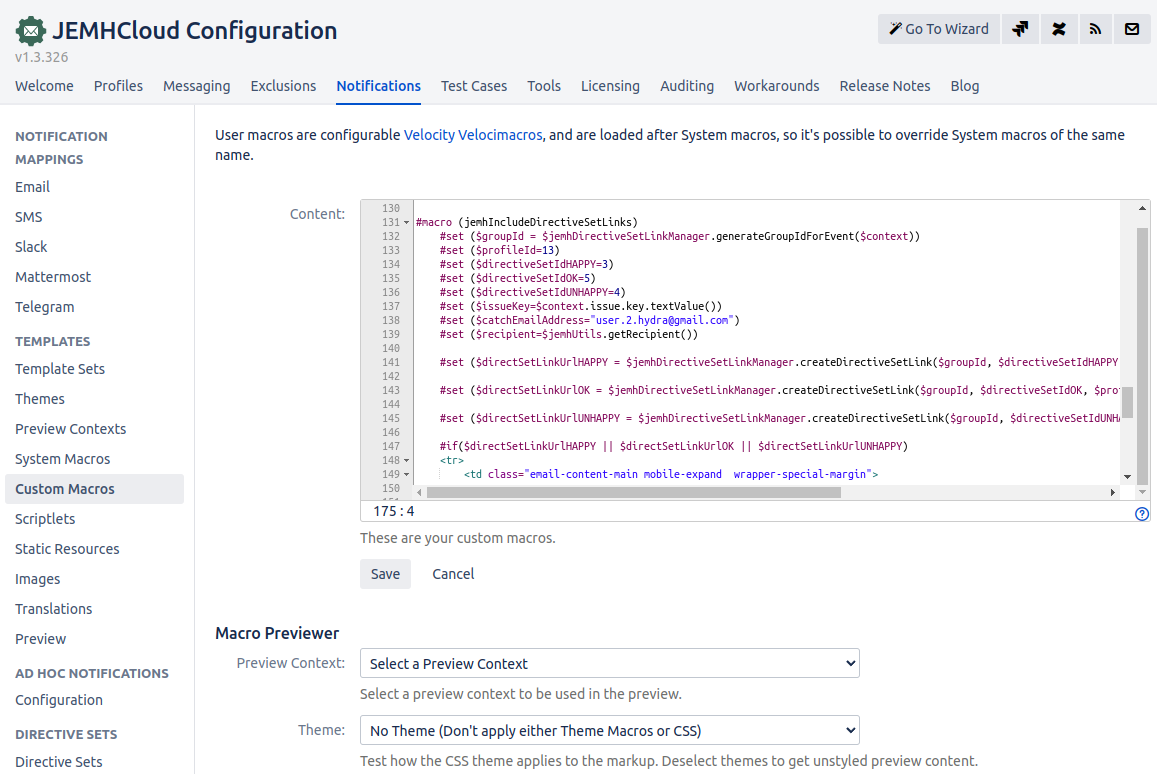
For JIRA and GENERIC themes, insert #jemhIncludeDirectiveSetLinks macro below in Notifications > Custom Macros. For Service Desk theme, insert #renderDirectiveSetLinks macro below in Notification >Custom Macros. Update $profileId, $directiveSetIdHAPPY, $directiveSetIdOK, $directiveSetIdUNHAPPY and $catchEmailAddress to match your values. Custom Macros in Notification should looks like this:
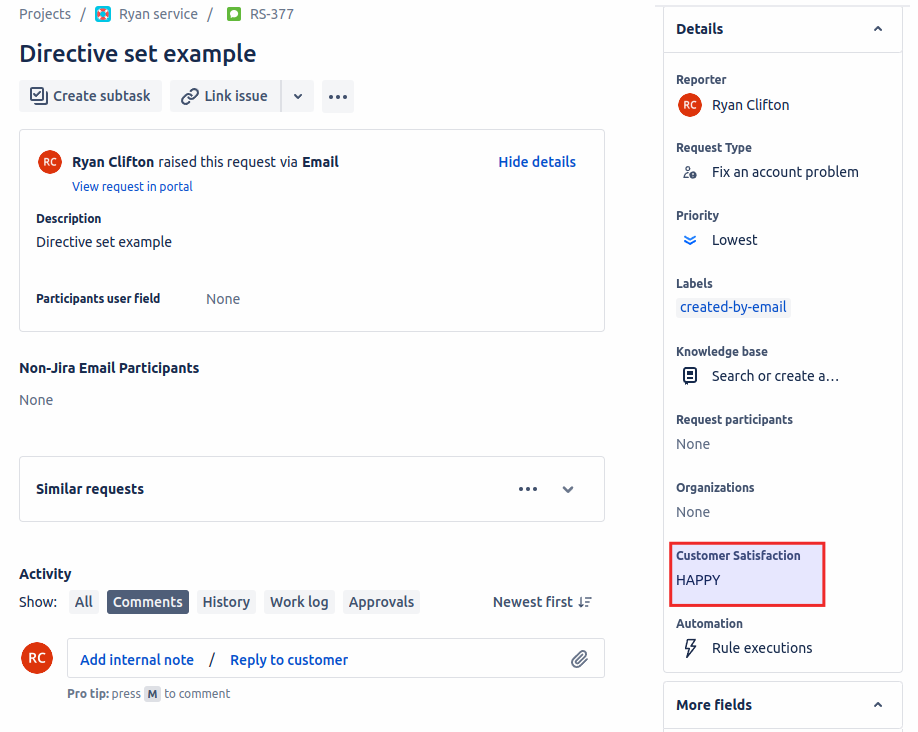
Then, an email sent to your customer will include the 3 icons + links.
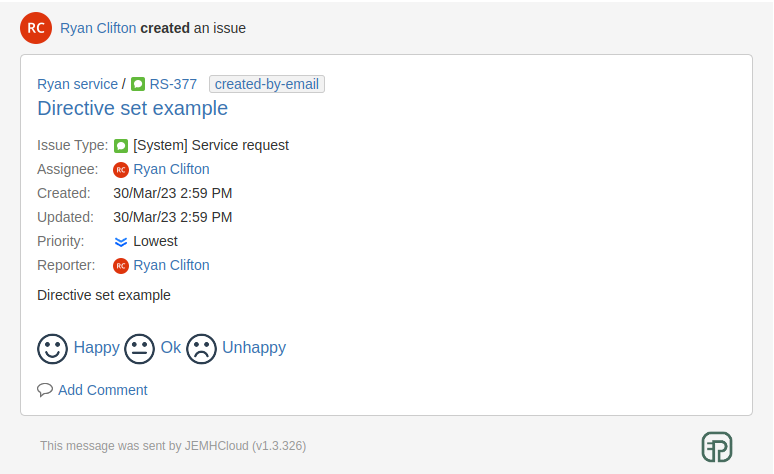
When the user clicks in one of them, the Directive Set will be executed invalidating the other links.

JIRA - GENERIC - Custom Satisfaction Custom Macros
...
| Filter by label (Content by label) | ||||||||||||||||||
|---|---|---|---|---|---|---|---|---|---|---|---|---|---|---|---|---|---|---|
|
...