...
From the top right of the screen, select Sign in with Microsoft

At this point, you may be asked to grant consent to JEMHC acting on behalf of the signed in user. See the previous section on granting consent for more information.
After granting consent to the request, a screen confirming successful authorization is shown:

Returning to JEMHC, you should now see the new connection:

Clicking the green ping icon will then test the connection. A successful test will look similar to this:
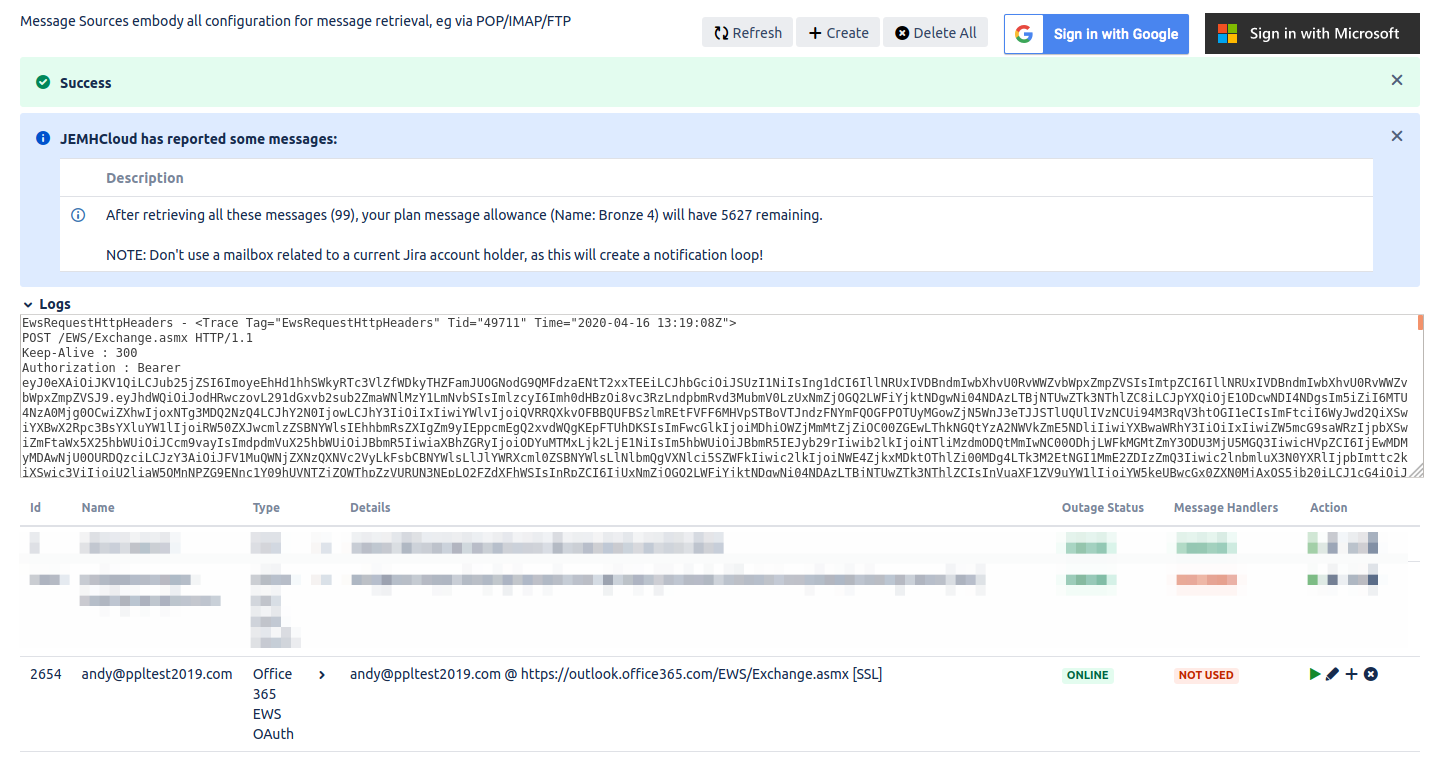
The mail connection is now ready for use. These steps are identical for setting up both Message Sources and Message Outbounds.
...