Summary
Outbound message connections allow emails to be sent from the app. This will allow you to send notifications to the relevant users when an issue has been updated. Note: This will require a Notification mapping to be configured.
Default connection
The first outbound message connection you create will be set as the default. Once you have more connections, you can select which one is the default. The default outbound message connection is used to notify your JEMH Cloud profiles' forward users when there is a problem during email processing.
Creating a New Message Outbound connection
Navigate to JEMH Cloud > Messaging > Message Outbounds

Click the Create button. You’ll now see the outbound message connection creation screen.

First, enter a name to differentiate the connection from any others you may have.
Choose the type of the connection to make. Some types come built-in, including ones using OAuth authentication.
If you are unsure which type to choose, selecting SMTP will offer you some presets for popular email services. Alternatively, you can manually enter your mail servers SMTP connection settings (hostname, port, SSL/TLS). Current Presets are:
Custom
Gmail
Yahoo
Outlook.com
Office 365
Mailtrap.io
Once you are sure you have entered the settings and credentials required for your outbound mail server, use the test configuration button to verify the configuration. Once verified you can then save the form using the submit button.
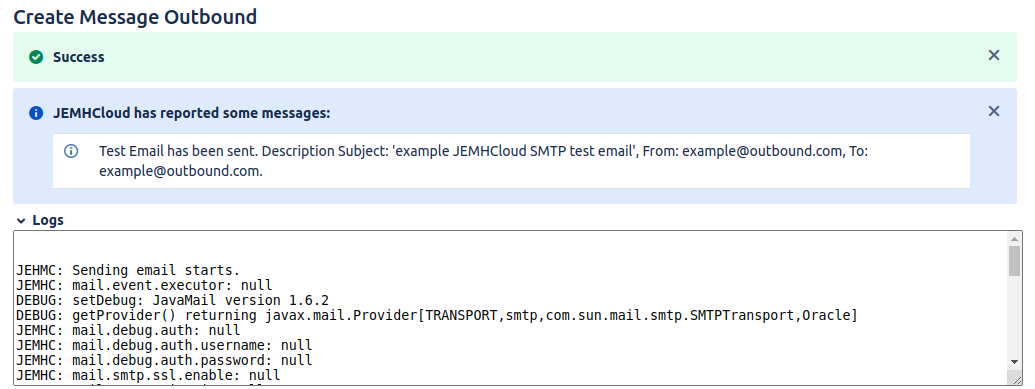
You will see a similar message to the following if the test was successful:
Using Google with OAuth
It is also possible to create a OAuth Outbound Mail Server connection with Gmail. This is done by pressing Sign in with Google and then selecting the Gmail account for JEMHC to use. For more info see: Integrating with Gmail using OAuth

Using Microsoft with OAuth
It is also possible to create a OAuth Outbound Mail Server connection with Microsoft. This is done by pressing Sign in with Microsoft and then selecting the Microsoft account for JEMHC to use. For more info see: Integrating with Microsoft 365 using OAuth
