Navigating to Delegated Group Config
As a system admin you can delegate the management of groups to users, either by direct per-user or group authorization. To navigate to this area, go to:
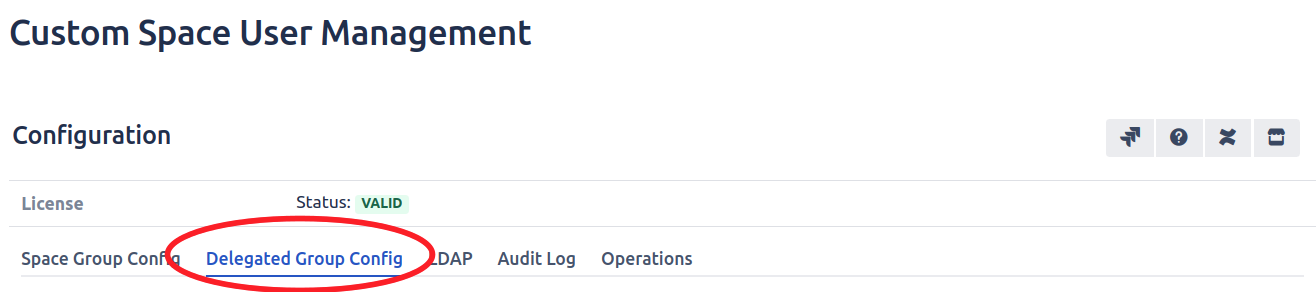
Confluence administration > Users and Security > Custom Space User Management > Delegated Group Config:
 |
|---|
Adding a delegated group and authorizing users/groups
This is the view of the delegated group config, the table on the left stores groups that you would like other users/groups to manage. The table on the right shows users and groups that are authorized to manage a group, this table will populate only when a delegated group is selected on the left.
 |
To add a delegated group click the Add Group button:
 |
A dialogue box will appear, once you’ve typed 3 letters the selection box will search confluence for groups. Many groups can be added, simply select a group then continue typing the next group. Click submit when you're finished.
 |
Circled above is an indicator that shows which delegated group is selected.
To Authorize a user make sure the delegated group is selected and press the Authorize button.
 |
A dialogue box will appear, here you can authorize confluence users and groups in one action, once you're happy with your selections press the submit button.
 |
As of CSUM 3.0.24 you can authorize users via a group import  |
Once you’ve submitted your groups and users will appear in their appropriate tables:
 |
 |
In this example the user “Sir Admin” and all the users in the group “animals” are now able to add and remove users from the group “colours”. Such management can be done from Space > Space tools > Custom Space User Management > Delegated Groups. The instructions for how to do this can be found here
Removing authorized users and groups
To remove the authorization of any users or groups you need to select the delegated group, then you can either select the users and groups (these tables feature multi select) or don't and fill in the users/groups manually in the dialogue box afterwards, then press the ‘De-authorize’ button.
Now the de-authorize dialogue box will appear.
 |
The highlighted buttons fill/clear all groups (users as well) that can be useful when de-authorizing a large number of groups.
When you’re happy with your selection(s) press the Deauthorize button.
Removing a delegated group
You can only remove one delegated group at a time, just select the group to remove and press the remove group button.
 |
Once clicked a dialogue box will open informing you of the authorisations that will also be removed:
 |
Click Remove to confirm the removal of the delegated group.
Adding users to a delegated group
Below you will learn how to add and remove users from a delegated group.
Adding a user to a delegated group is straight forward. Head to Space > Space Tools > Custom Space User Management > Delegated Groups.
When you visit the page you will see this:
 |
If there are no groups in the Delegated Group table you will need to gain authorization from a System Administrator, they will need to follow the information at the bottom of this web page.
To add a user to a delegated group you need to select a delegated group from the table on the left. Then press the Add User button:
 |
This will open a dialogue box where you’ll need to select the delegated group(s) involved if you haven’t already and select a number of users and click Add when you’re done.
 |
As of CSUM 3.0.24 users can be added via group  |
The user(s) will now appear in the table on the right and they will also be added to that group in confluence.
Removing users from delegated groups
To remove a user from a delegated group you first need to select a delegated group and either click the Remove User button or select the users from the table then click the remove user button.
This will open a dialogue where you can select users. Once your done click the Remove button.
 |